Views: 1,621
This article is written by one of our student assistants (Fiona FENG Shiqi) who is actively participated in the project – “Digital Storytelling with VR: Visual Conservation of Kowloon City’s Heritage” during Dec 2024 – Jan 2025. She helped in enhancing the quality of our 3D objects. Let’s see her sharing below on how she achieved the enhancements!
Software – Kiri
There are many online software options available for photogrammetry, and Kiri stands out as one of the most accessible and high-performing choices. Below is a quick guide on using Kiri Pro for photogrammetry, showcasing my two months of work on this project.
I highly recommend obtaining Kiri Pro for enhanced performance. The Pro version offers two additional impressive modes — Featureless Object Mode and 3DGS with Mesh — along with unlimited exports. You can access Kiri via mobile devices or through the web.
Different modes
The following steps will focus on the web version.
After signing into the Kiri Engine Pro web version, you will see three modes in the main interface:
- Photo Mode (Default)
- Featureless Object Mode
- 3DGS (with Mesh)
All three modes support both photo and video uploads. But please note that they have limitations on uploads.
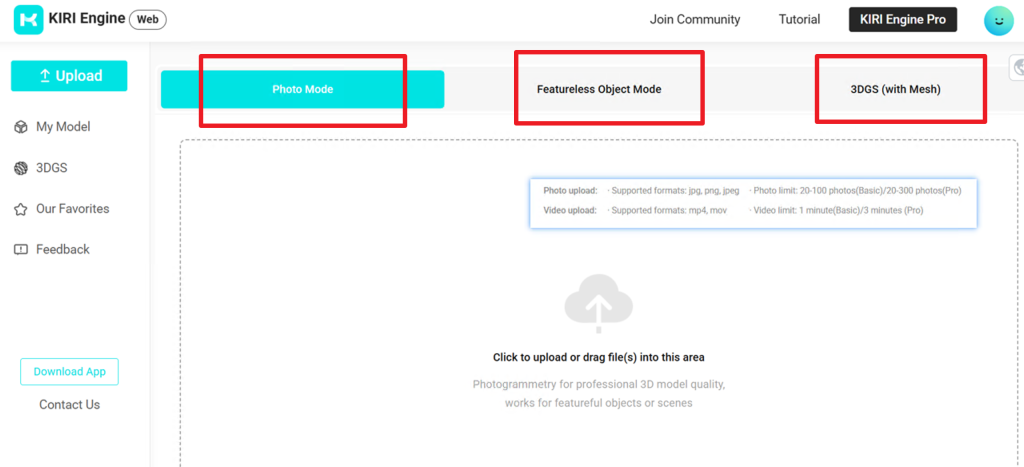
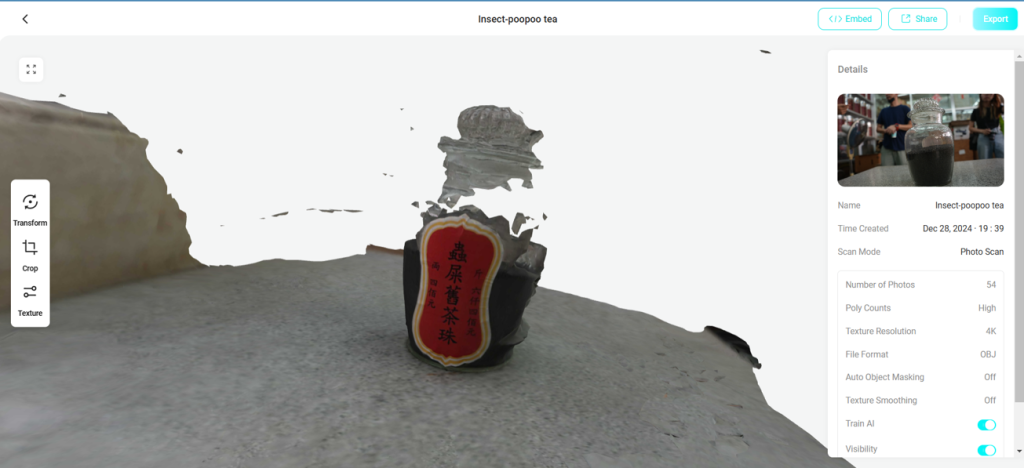
Photo Mode
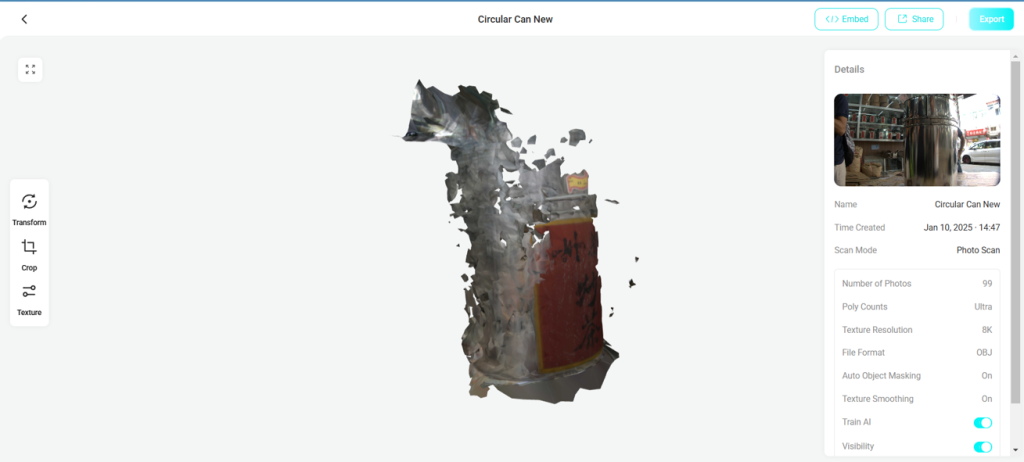
It is the default setting and the only accessible mode if you don’t have Pro. It performs well for most scans, except for objects made of reflective or transparent materials.
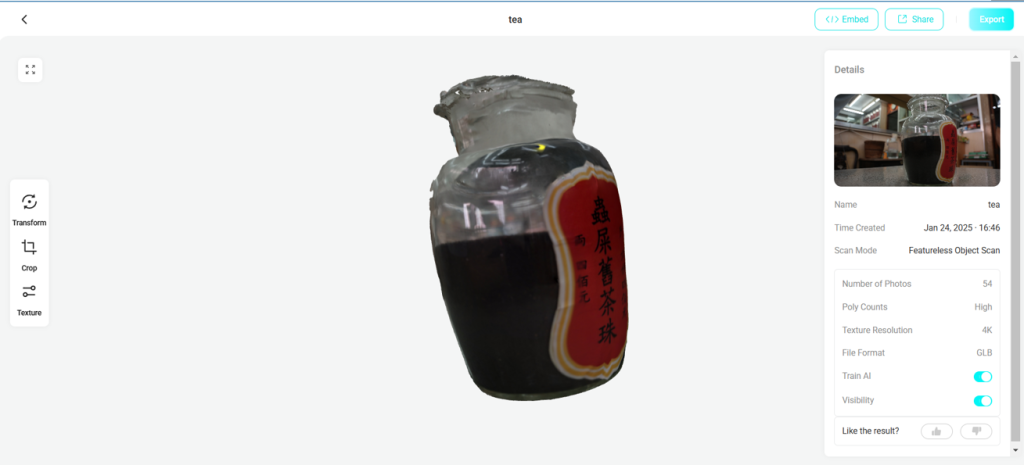
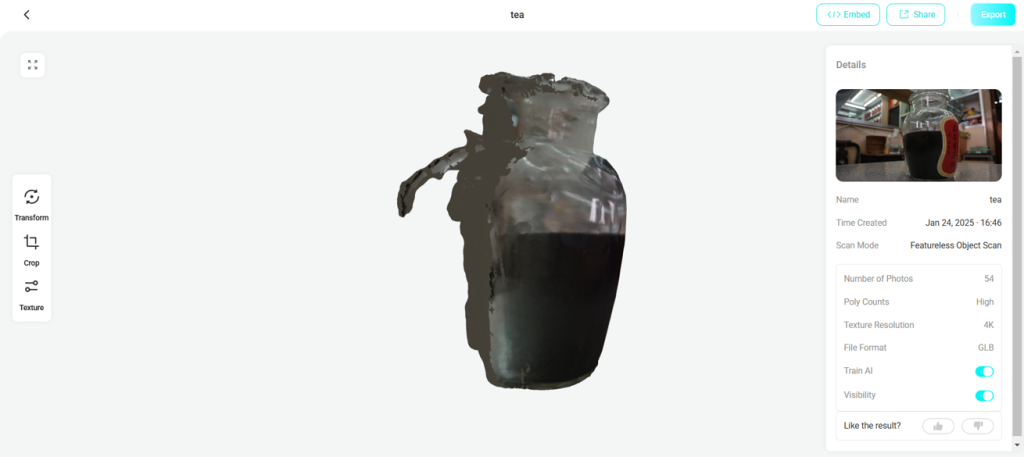
Featureless Object Mode
Use this mode when scanning objects with smooth, reflective, or transparent surfaces, such as glass, shiny metal, or simple geometric shapes. This mode utilizes Neural Surface Reconstruction (NSR) technology to accurately capture the object’s shape, even with minimal visual cues. Based on my experience, Kiri’s featureless object mode works effectively about 70% of the time for these materials, depending on the quality of the input images (lighting) and some luck. If photogrammetry fails, I recommend directly creating a 3D model in Rhino, Blender, or other 3D modelling software, provided the object is not too complex.
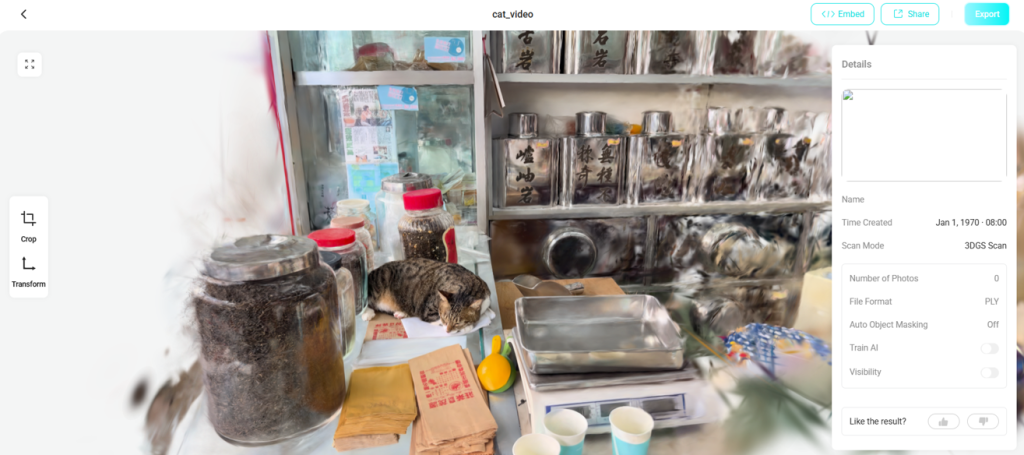
3D Gaussian Splatting
It is a technique for creating and rendering 3D scenes using millions of tiny, translucent ellipsoids known as “Gaussian splats”. Unlike traditional methods that rely on polygons or complex neural networks, 3D Gaussian Splatting utilizes these splats to represent a scene. Kiri’s 3DGS effect is quite impressive, as demonstrated below. Although I haven’t tried it myself, using an add-on called “3DGS Render for Blender” would allow you to import and edit the 3DGS model in Blender.


Steps
Below is a complete process of using Kiri Pro.
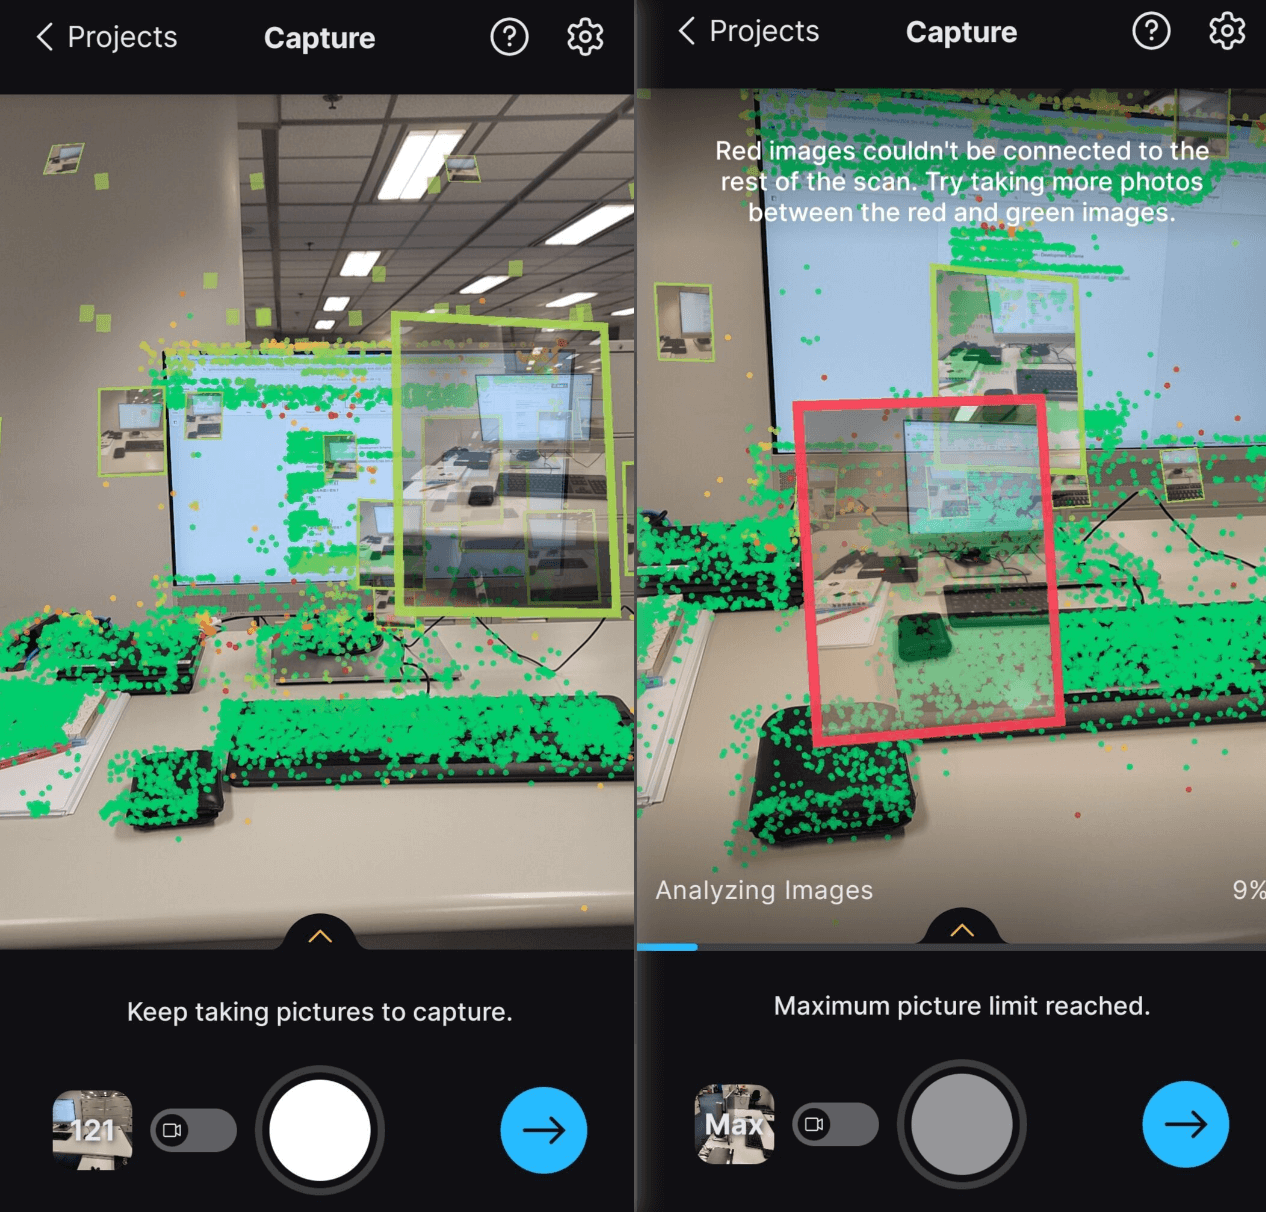
1. Upload image/video input into a selected mode within the input requirements.
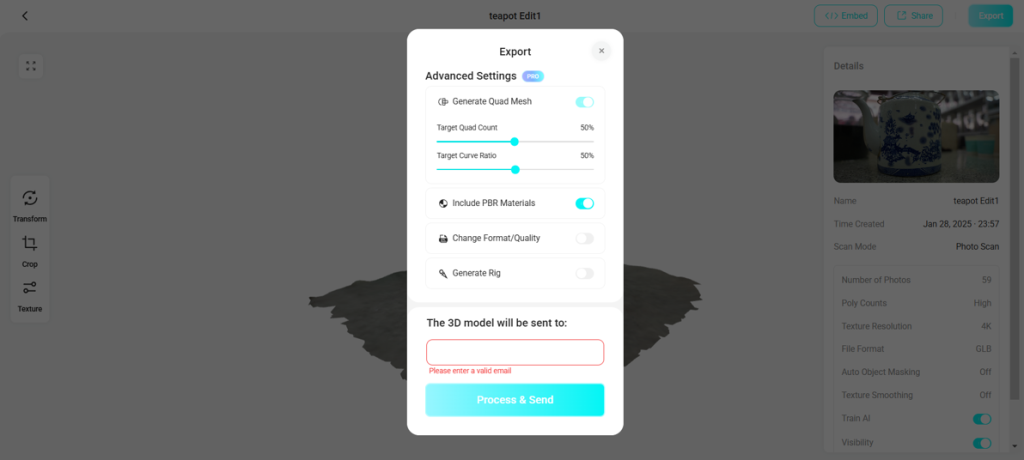
- File Format: The .glb file format is a binary format that stores 3D models, textures, materials, and animations. It is a standardized format for sharing 3D data across platforms and applications, making it easy to process these raw models in other software later on. Therefore, it is a good choice. Additionally, there are many other formats available, so feel free to choose according to your requirements.
- Poly Counts: The default setting of High is sufficient. Selecting Ultra may sometimes lead to unexpected results.
- Texture Resolution: The default 4K resolution is quite good. While 8K offers greater clarity, higher resolutions require more processing power from your device. As a result, editing models with higher resolutions in 3D modelling software may be more challenging.

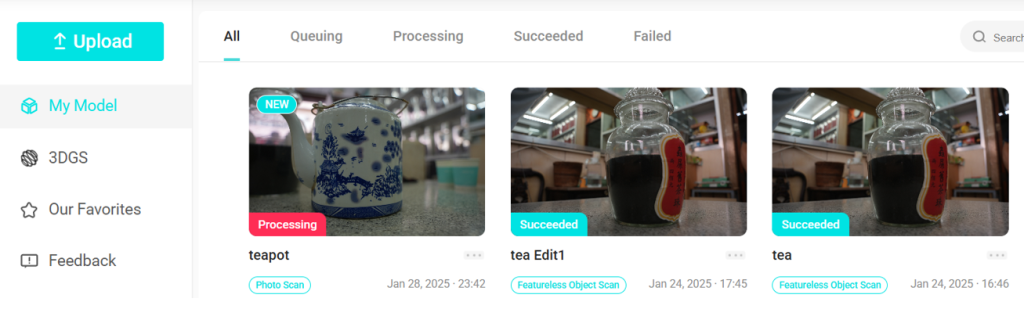
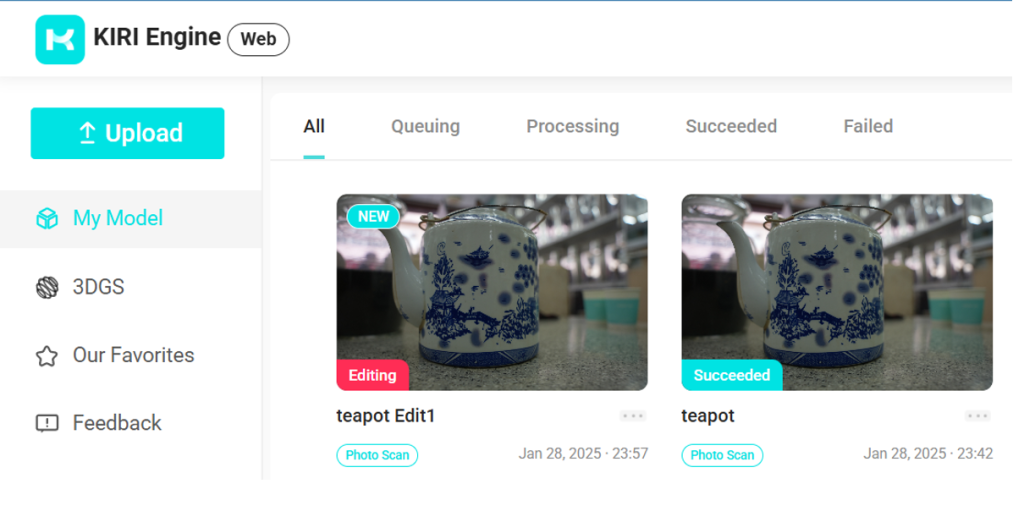
2. After successfully uploading images or videos, you will need to wait approximately 30 minutes to receive the results. By navigating to “My Model” in the left sidebar, you can track the progress, which involves several steps: Queuing – Processing – Succeeded.

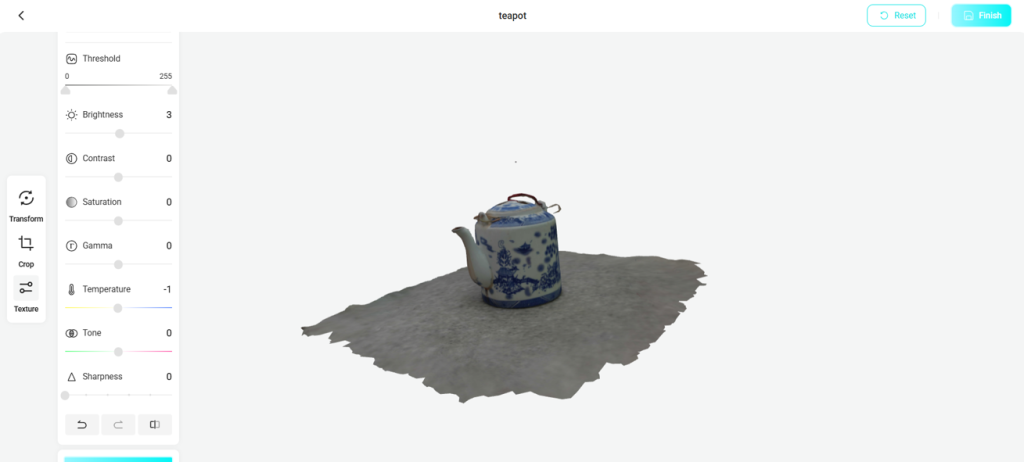
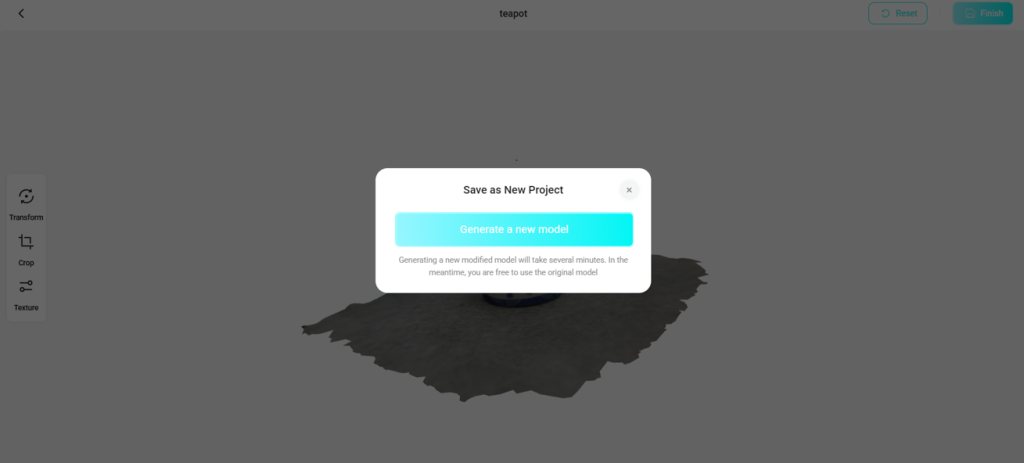
3. After making your modifications, click “Done” on the left side, then click the “Finish” button in the upper right corner. You will be prompted to create a new model, mesh, or texture, and after a few minutes, you will receive your new model.
4. Click on export button on the upper right corner, send it to a valid email address.
You can adjust various configurations in the export settings. The “Generate Rig” function is particularly powerful if you want to create models with joints that allow for separate movement of parts (e.g., human figures, creatures, etc.).
5. Log in to your email and get the 3d model within 24 hours!
– By FENG Shiqi, Fiona (Year 2 student from BSc in Integrative Systems and Design)
27 February, 2025
You may also be interested in…