Views: 4,351
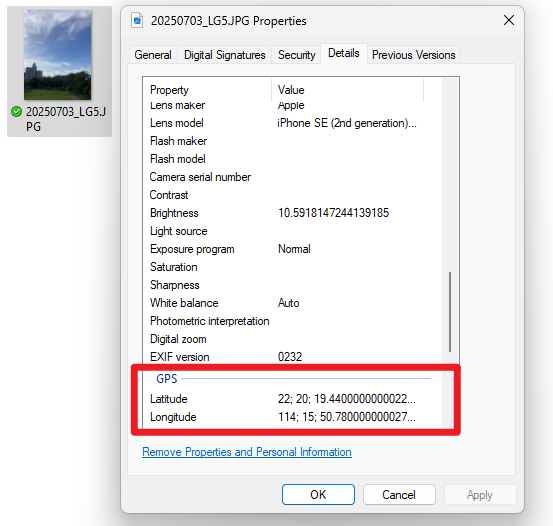
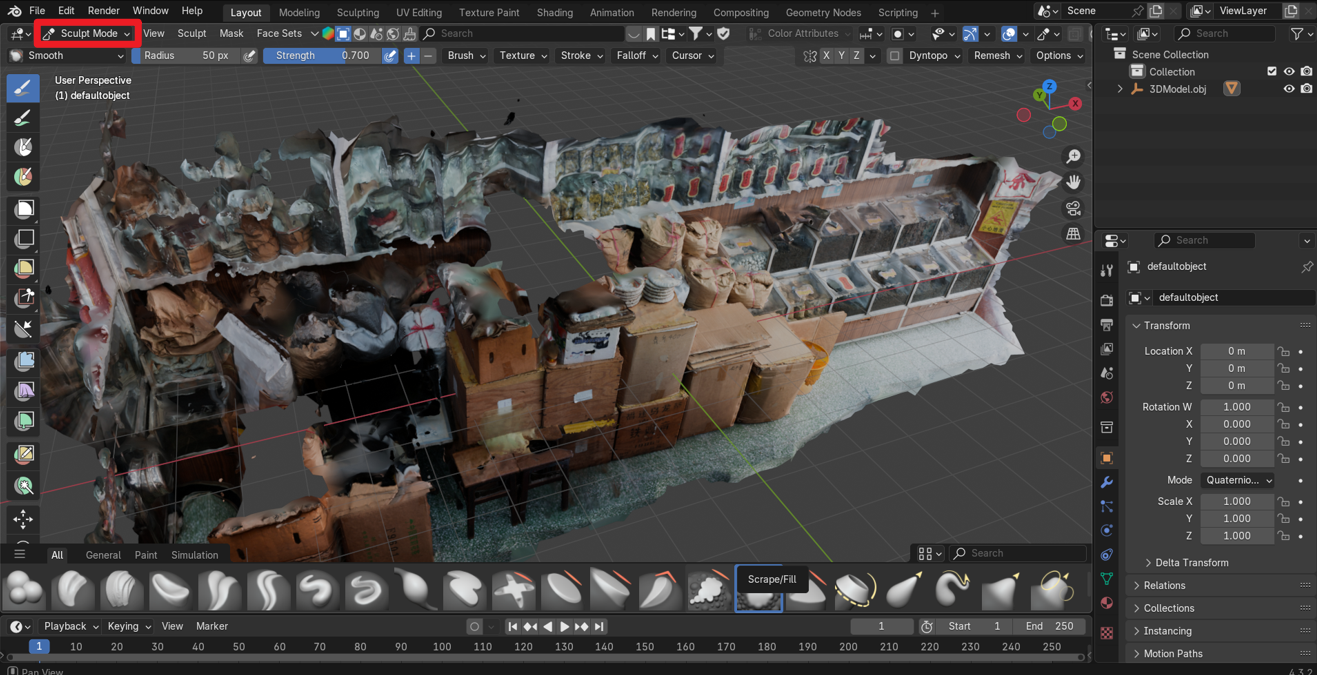
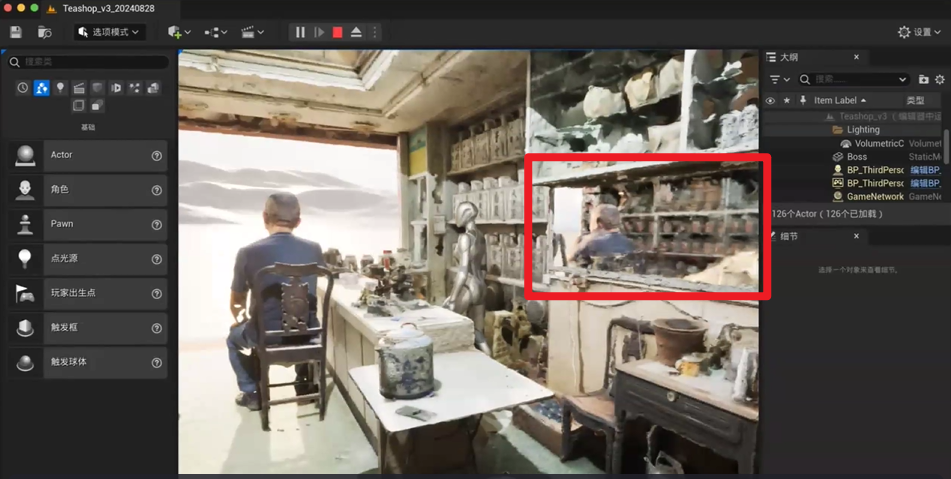
As you may be aware, we are working on a project – “Digital Storytelling with VR: Visual Conservation of Kowloon City’s Heritage“. Our goal is to digitally preserve the local cherished old shops in Kowloon City that are at risk of being demolished due to the upcoming government redevelopment. This article is written by one of our student assistants (SHEN Xiao Yuan) who is actively participating in the project, contributing from taking photos to building virtual scene of the old shop. Below, she shares her tips on how to create a mirror material in Unreal Engine 5 while she is constructing the Yuen Mao Hing Kee Tea Shop (源茂興記茶莊) for this project.
Introduction
Creating a mirror material in Unreal Engine 5 can significantly enhance the visual realism of your environment.
Follow this step-by-step tutorial to build a basic mirror material.
Steps
Step 1: Create a New Material
- Open Unreal Engine.
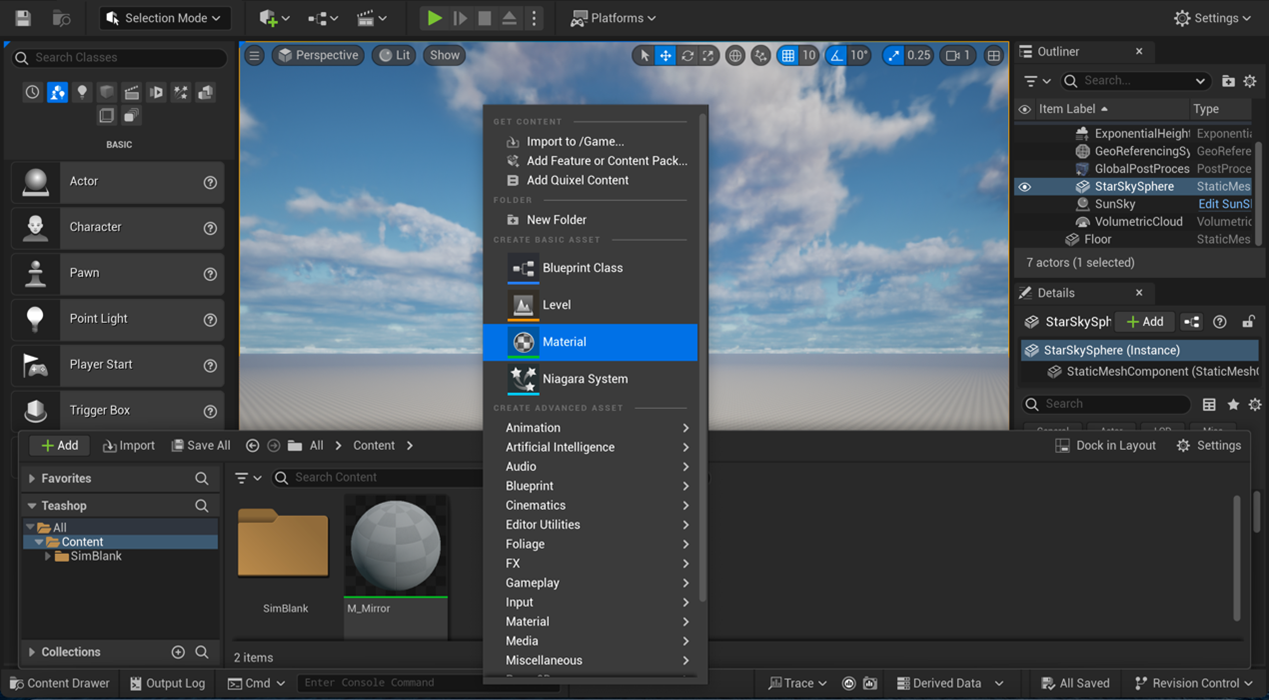
- Navigate to the Content Drawer.
- Right-click in the Content Drawer and select Material.
- Name your material (e.g. M_Mirror).
Step 2: Set Up Material Properties
- Double-click on your new material to open the Material Editor.
- In the Details panel, configure the following properties:
- Forward Shading: Check both High Quality Reflections and Planar Reflections boxes.


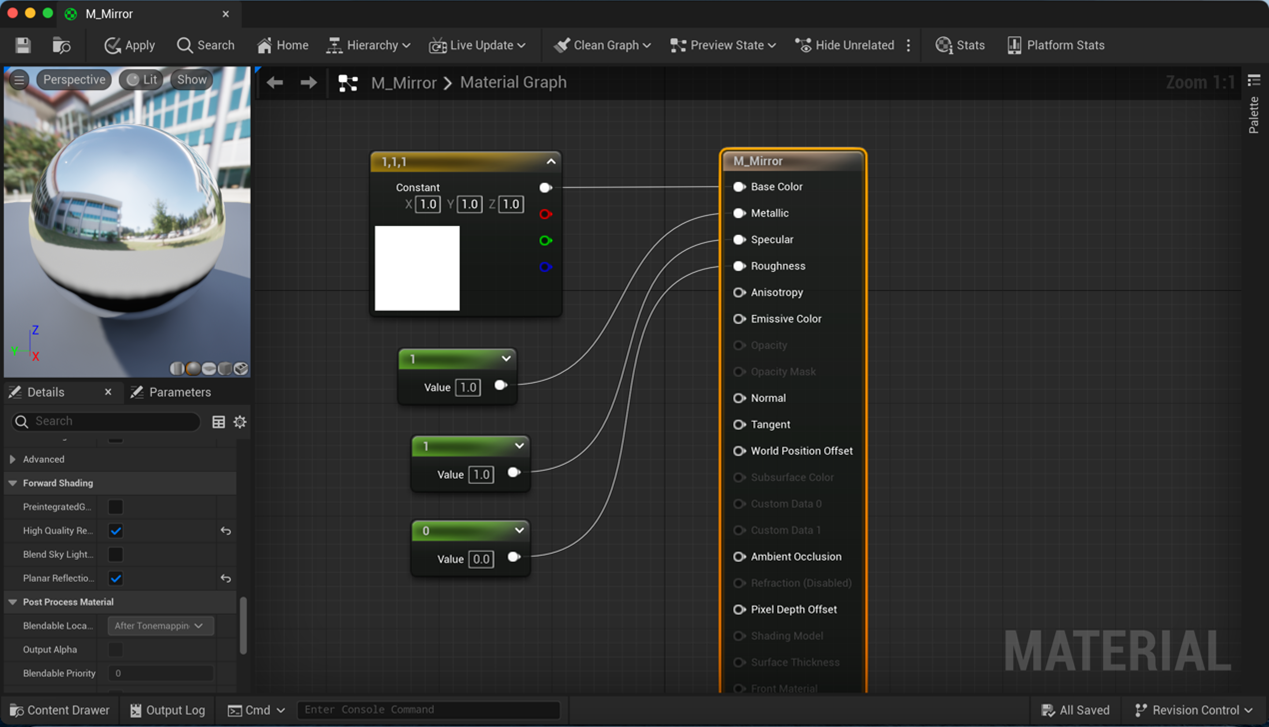
Step 3: Add Reflection in Material Graph
- Add a Color Node:
- Press 3 and click the left mouse button to create a 3D Vector node.
- Set all constants to 1 to create a white color, and connect it to the Base Color of the Material node.
- Add Parameter Nodes:
- Press 1 and click the left mouse button three times to create three Constant nodes.
- Metallic: Set this constant to 1 and connect it.
- Specular: Set this constant to 1 and connect it.
- Roughness: Set this constant to 0 and connect it.
- Press 1 and click the left mouse button three times to create three Constant nodes.
- Click the Apply button to compile the material.
- Close the Material Editor.
Step 4: Apply the Material to a Surface
- Add a Reflection Capture Actor:
- Go to the Place Actors panel.
- Search for and drag a Cube or Plane into your scene.
- Adjust its size and position to encompass the area you want to reflect.
- In the Content Drawer, find your new mirror material (M_Mirror) and drag it onto the object.
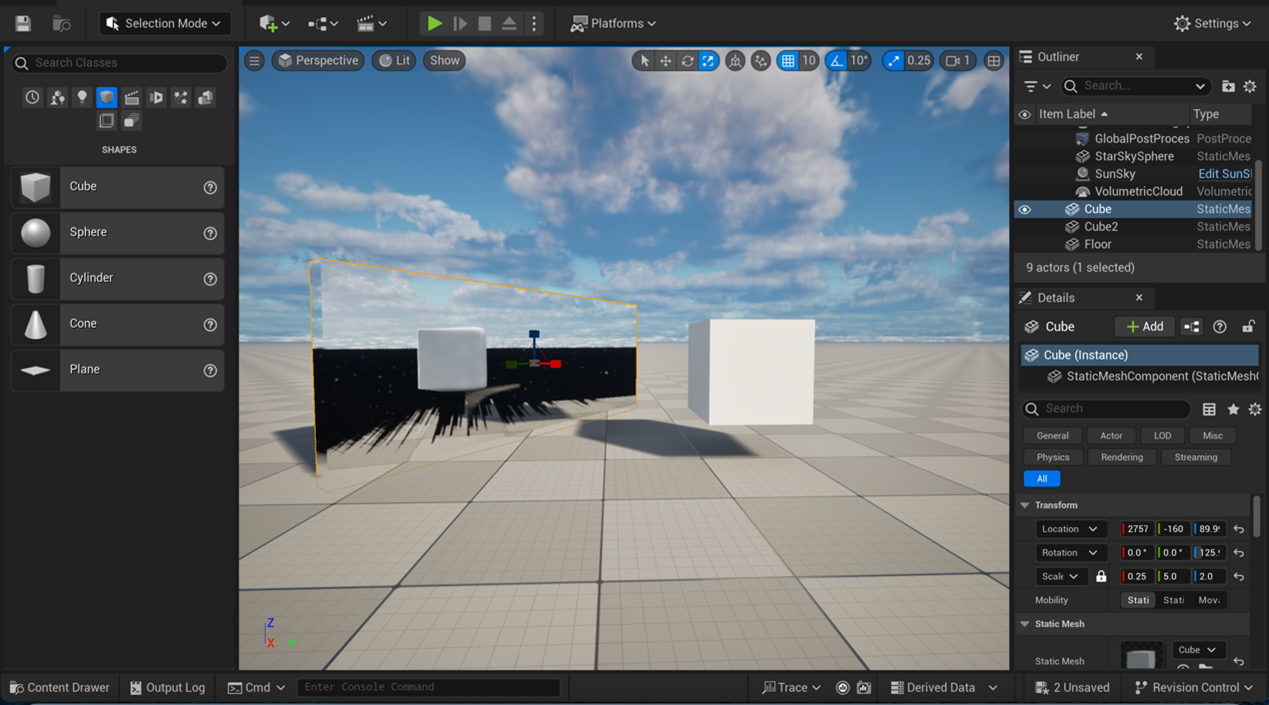
Step 5: Test Your Mirror
- Play the scene and move around to see the reflections in your mirror material.
- Adjust the properties as needed to achieve the desired look.
Conclusion
You now have a basic mirror material in Unreal Engine 5! Feel free to experiment with additional nodes and settings to create more complex effects, such as distortion or tinted mirrors. Happy developing!
– By SHEN Xiao Yuan (student from MPhil in Chemical and Biological Engineering)
September 13, 2024
You may also be interested in…